

Implementing Plastic Cable Grommets: Best Practices
Learning to Organize Spaces with Plastic Cable Grommets
Now, let's be honest here with ourselves and admit the behind the scenes, but indispensable element involved in any tidy desk setup. Think about it for a moment. You purchased a classy desk, a nice monitor, and a comfy chair, but no matter how much effort you put in, to the right of your desk, where the single hole for cables is located, you have what appears to be a spaghetti junction. This particular situation is where most people don't think about plastic cable grommets, and that's a mistake. Plastic grommets in comparison to metal ones are much more flexible, cheaper, and just as efficient, making them ideal for home offices, corporate desks, and study areas. This is the easy part. The real trick is in your implementation. There is a certain level of finesse involved in the grommet process, almost as if you are following a lovely recipe. If you skip any steps, or take any shortcuts, the results will be less than desirable. This is a step-by-step guide covering the best practices of using a plastic grommet, turning it into a foundational element of any clean, organized, and optimal workspace.
We'll talk about the steps that lead to the great results, the ideas beyond the core base that include the selection, execution, care, and planning that goes behind.
Getting Started: Preparation and Mindset
Starting an installation without a strategy is the leading cause of anger. Before starting any installations consider the following. Prepare yourself for a temporary mess and the volume of cords. You will need to unplug every cable connected to your computer, monitors, lamps, and chargers, and every cord that is covering the desk. By laying everything on the floor, it will also give you an eye-opening perspective on the volume of cords, and you will set yourself up for a better audit. Take this golden opportunity to clean. Here's a list of potential cords you MAY want to have on hand: chargers for your current devices, a laptop connector, monitor cords, and a cable that is long enough to reach your desk for the rest of the devices you have. If you have any of these cords, make sure to keep them handy. If you have any cords that you know you no longer need, such as an old printer cord or a phone charger for a device you no longer own, get rid of it. Now let's remove the dust and other debris that was on the desk. Make sure you clean the edges of the cable access hole as well. If you Have to opened a new access hole it's good to smooth out the edges, If it's wooden, the edges will likely have small splinters, and you will want to use a bit of fine-grain sandpaper. You will want a smooth edge to prevent future snagging and damage to the cables. Think of the future. Will you plan to have a new device added next month? Consider a desk that is a mounted monitor arm? Mentally mapping takes your ideal cable flow to prevent a redo later on.
This first part of the process may take longer than expected, but it is necessary to ensure the proper and most efficient installation of your plastic cable grommets.
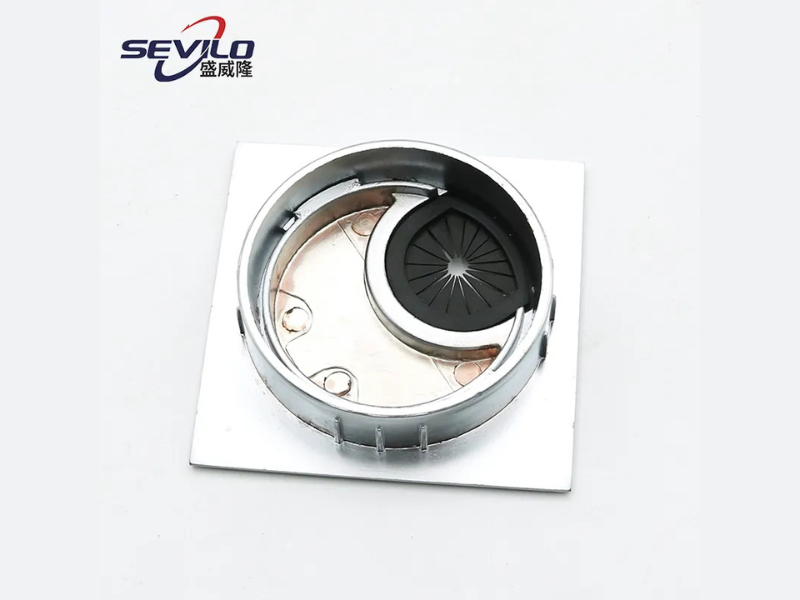
Choosing the Right Option: Not One Size Fits All
Looking at a website, you come across the term, "plastic cable grommet." It's easy to think that's the only type of and the only challenge it mentions, and you need to know which type of cable grommet fits your challenge. One options is the classic press-fit grommet. It's a single piece of plastic that pushes into a pre-cut hole and is perfect for standard desks and fixed setups. Another option is the brush grommet, which features a panel of nylon bristles. It's a flexible design that allows cables to pass through while closing to prevent dust from falling through, oideal for setups with frequently changing cable amounts. One more type is the split or flip-lid grommet, which has a hinged top and allows you to drop in cables without having to disconnect them. Before buying, know your desk's hole size and thickness and be self aware.
Are you a forget it and set it kind of person or one who switches their gadgets around weekly? Let's find out to help you find your style. Picking the right plastic cable grommets is the best way to ensure future satisfaction and avoid that annoying feeling of something feeling like 'almost right'.
The Grommet Installation: Control, Not Crude Force
Before we begin, make sure you picked the correct grommet and prepared your workspace. When we talk about installation, we talk about control. Keep it comfortable, and don't make it a struggle. A press-fit grommet will need you to carefully align it so that it is even over the grommet hole. Use your palm to push down evenly with control around the border. You will notice it clicks all around to confirm you it is secured and in grommet hole. If you feel it is stuck, try not to pound it in. Please check that the inner grommet matches the hole. If you have it, unscr and remove the top grommet until you have a base grommet. The normal way to do this is to slide a screw stem through the hole from underneath, and screw on the upper grommet piece. Do not to forget about the specific instructions that you have from your manufacturer. When you feel the inner sleeve, you will notice that they do not have a rise, this is what you want. If you do feel that the inner grommet sleeve is not even with the desk, this is a warning marker. Cable insulation will suffer wear over time.
Installation detailing fully protects not only your investment in your pricey electronic cables, but also the plastic cable grommets fulfilling their protective role.
Cable Management and Long-Term Harmony
While we consider the grommet installation done, our job is only halfway to completion. One of the most missed 'best practices' is modularizing the cables from each side of the portal. Don't just shove a tangled mess of cables through the grommet. Exiting only one cable and re-adding it to the grommet for future tracing is not a feasible approach. Instead, try to systematically channel the cables in pairs and do section removals together. For instance, all of the power cables can be velcro-bundled together before sliding through the grommet. This organized approach under the table is to be continued. Use cable guide channels on the surface and clip cables into them as they make their route to their end point; the under-desk power strip or cable storage box. This keeps the desk from displaying a tangled 'umbilical cord' at the front of the desk, which weighs-down and strains the grommet. Lastly, establish a simple maintenance routine. Every few months, take a quick look; remove dust from the brush grommets, check that the cables are not pinching or rubbing against the grommet too tightly, and verify that the grommet itself is not coming unseated or wobbling too much. This maintenance keeps the hard work you've put into the system to be effective, and safe, and the end result will be visually clean for many more years.
Plastic cable grommets enhance the beauty of a space and provide a sleek and tidy appearance to your work area. They provide a sustained order and peace of mind in your daily work life.